If you want sharp, vibrant, and durable DTF transfers, it all starts with proper artwork preparation.
While DTF (Direct to Film) is incredibly versatile and beginner-friendly, sloppy or low-quality artwork can ruin an otherwise perfect transfer. Whether you’re creating designs for t-shirts, tote bags, or hoodies, getting the file prep right is essential for clean, professional results.
This complete guide covers:
- Best file types and resolution
- Sizing and layout tips
- How to handle background and transparency
- Color mode and design settings
- Pro designer tips for stunning prints
Step 1: Choose the Right File Type
For the best print quality and compatibility, always use high-resolution raster or vector files.
Recommended File Formats:
- PNG (with transparent background) – Ideal for final transfer-ready files
- PSD (Adobe Photoshop) – If editing layers is needed
- AI / EPS (Adobe Illustrator) – Best for vector-based artwork
- TIFF / PDF (flattened, high-res) – Acceptable for complex artwork
Avoid low-res JPEGs or screenshots, as they may appear pixelated when printed.
Step 2: Set the Correct Resolution
Your DTF artwork must be high-resolution to avoid blurry prints.
Recommended:
- 300 DPI (dots per inch) at actual print size
- Design in the size you want it to be printed (e.g., 5 x 5 inches for a front chest graphic)
Low-resolution designs may look okay on screen but will lose clarity and detail when printed onto film.
Step 3: Remove the Background
DTF printing needs a transparent background so that only your design is printed — not a white box around it.
How to Do It:
- In Photoshop: Use the Magic Wand or Remove Background tool
- In Canva or other editors: Export as PNG with transparent background
- In Illustrator: Keep only vector paths and no background layers
Tip: Check your design on a checkered (transparent) or dark background before saving.
Step 4: Use the Correct Color Mode (CMYK vs. RGB)
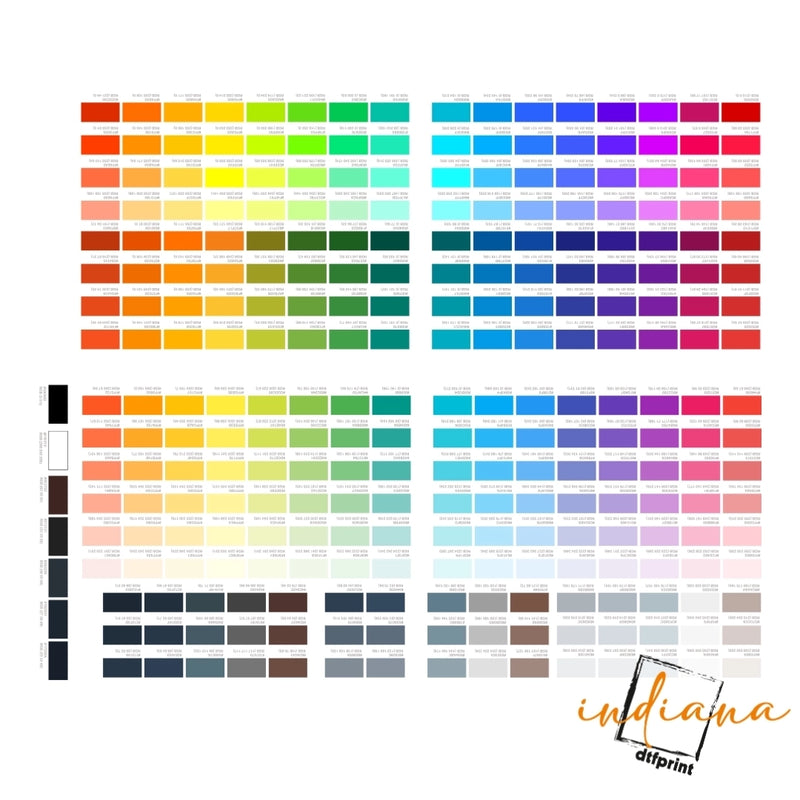
DTF printers use CMYK color inks, but most screens display in RGB.
What to Use:
- CMYK: For closest print-to-screen color match
- RGB: Okay for web design but may shift colors when printed
Pro Tip: Convert your file to CMYK before exporting to see more realistic colors.
Step 5: Size Your Artwork Accurately
Always scale your artwork to the exact dimensions needed for printing — don’t rely on resizing during production.
Common DTF Sizes:
- Left Chest Logo: 4” x 4”
- Full Front Design: 10” x 12”
- Oversized Back Design: 12” x 16” or more
- Cap/Beanie Design: 3” x 2”
- Sleeve Print: 2.5” x 11”
Use a template or mockup to visualize sizing before exporting.
Step 6: Create Gang Sheets (Optional but Recommended)
A gang sheet is a large print layout containing multiple designs, logos, or sizes. This helps you save on film cost and printing time.
How to Build a Gang Sheet:
- Use a canvas size like 22” x 60”
- Arrange designs tightly to minimize space
- Leave a small margin between designs (0.2”–0.5”)
You can use Adobe Illustrator, Photoshop, or online gang sheet builder tools.
Step 7: Consider Adding a White Underbase
DTF printers automatically apply a white underbase under your colors to enhance opacity — especially on dark fabrics.
Why It Matters:
- Makes colors pop on black, navy, or red garments
- Avoids washed-out or dull prints
Note: Some print providers require a separate white layer file, while others handle it in their RIP software. Always check with your printer first.
Step 8: Double-Check Your Design Before Sending
Before submitting your file to a DTF printer, do this checklist:
Is the background transparent?
Is the resolution 300 DPI?
Are colors in CMYK mode?
Is the design sized correctly?
Did you flatten layers if needed?
Are all fonts outlined (for vector files)?
Did you leave a margin between designs on gang sheets?
A quick review will prevent printing issues, wasted transfers, and delays.
Tools You Can Use
- Adobe Photoshop / Illustrator – Industry standard for DTF artwork
- Canva Pro – Beginner-friendly with PNG export + transparency
- Affinity Designer / Photo – Affordable alternative to Adobe
- Procreate (iPad) – Great for hand-drawn DTF art
- Online Gang Sheet Creators – e.g., from your DTF provider
Pro Tips from DTF Experts
- Use bold outlines for text to increase legibility
- Avoid overly fine lines or strokes below 1pt
- Try mockup generators to preview design on garments
- Add a bleed area (0.1”–0.25”) to account for placement shifts
- Don’t mirror your design — DTF printers or RIP software will handle that
Ready to Print?
Once your artwork is ready, you can upload it directly to a trusted DTF transfer supplier like:
- Upload PNG, PSD, AI or gang sheet files
- High-quality prints with eco-friendly inks
- Fast shipping across USA
- Expert support if you need file prep help
Final Thoughts
Proper artwork preparation is the key to professional-looking DTF transfers. Whether you’re printing for your clothing brand, a custom gift, or a bulk order, following these steps will save time, reduce waste, and ensure your prints look sharp, vibrant, and long-lasting.


